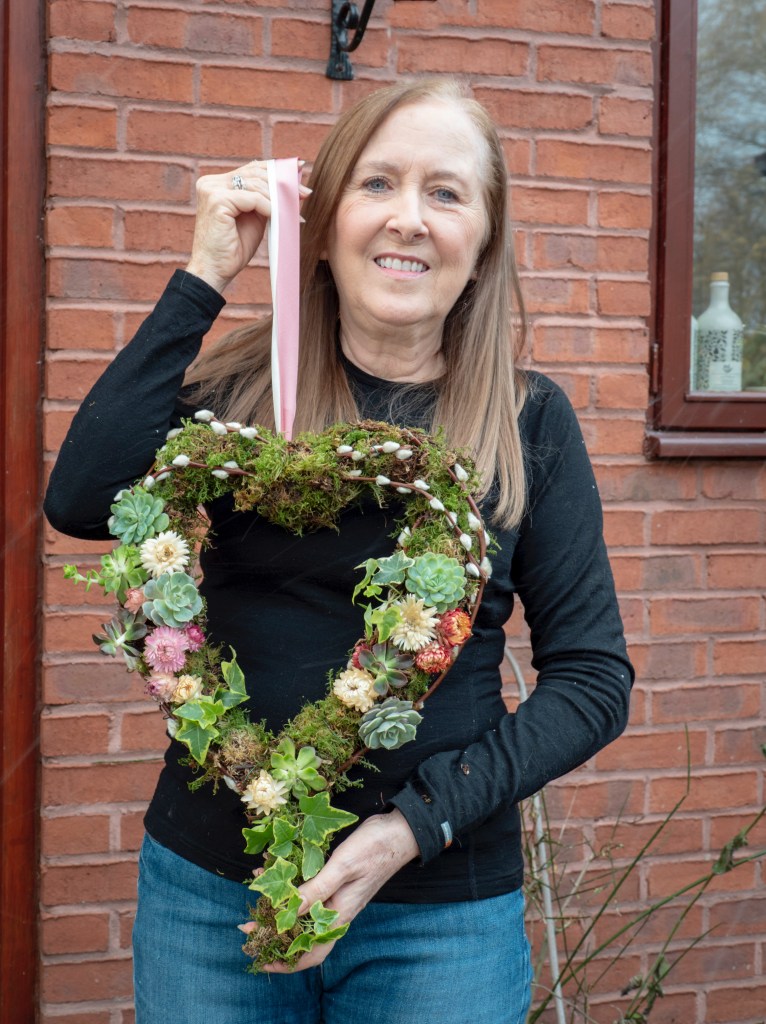
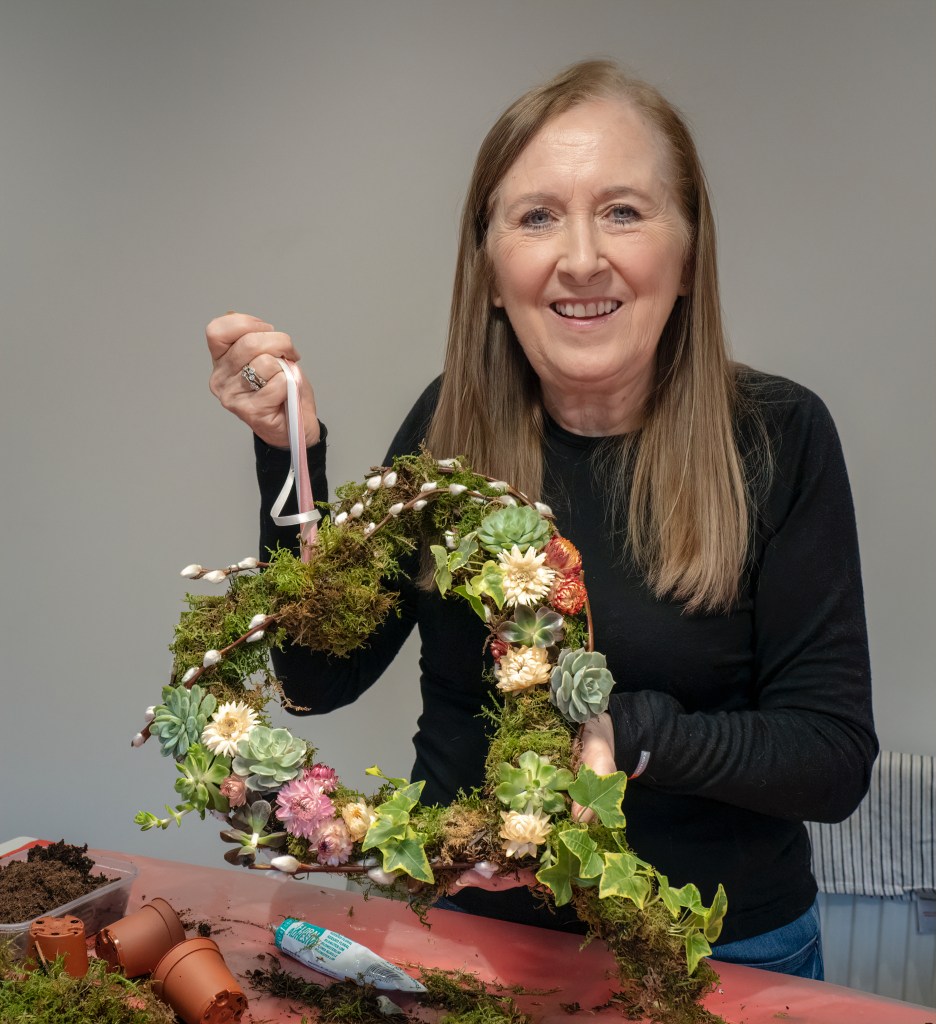
Took part in an on-line workshop last week to create this lovely kokedama heart wreath. Very appropriate for Valentine’s Day or for a wedding. The Japanese art of kokedama literally means moss-ball. Plant roots are enclosed in a ball of moist soil which is then wrapped in moss and secured with wire or decorative twine.
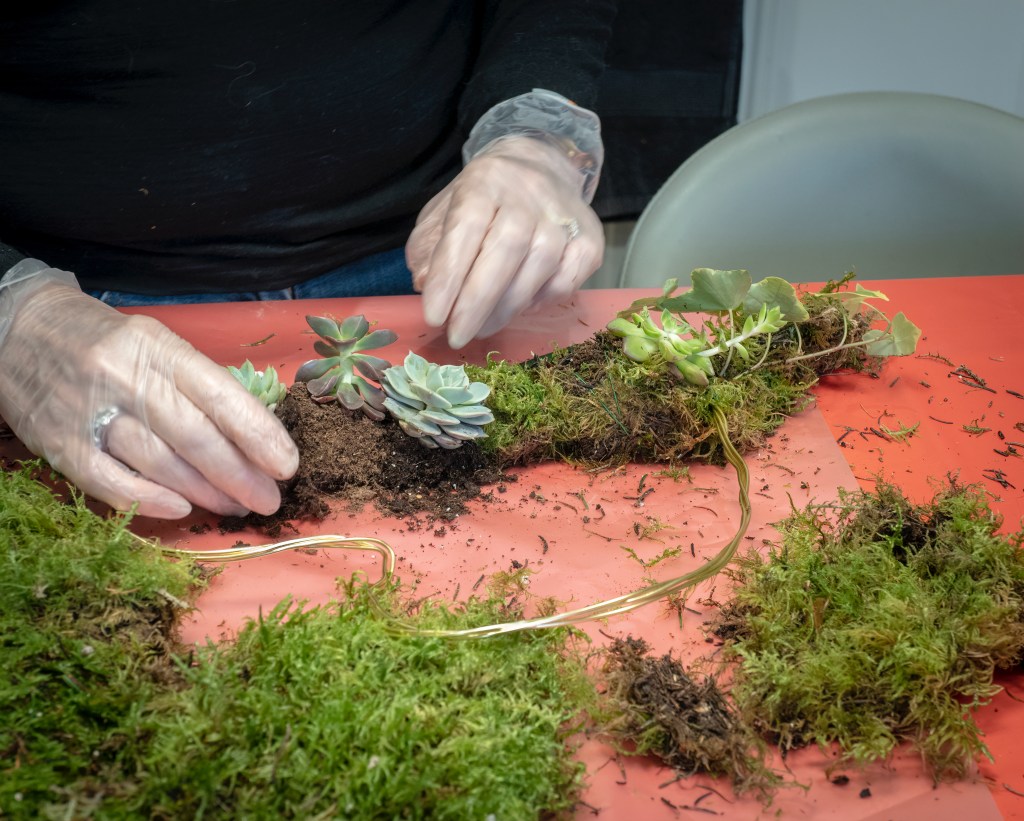
Start by twisting together three strands of thick decorative wire wire secure the ends by twisting together. Gently form into a heart shape.
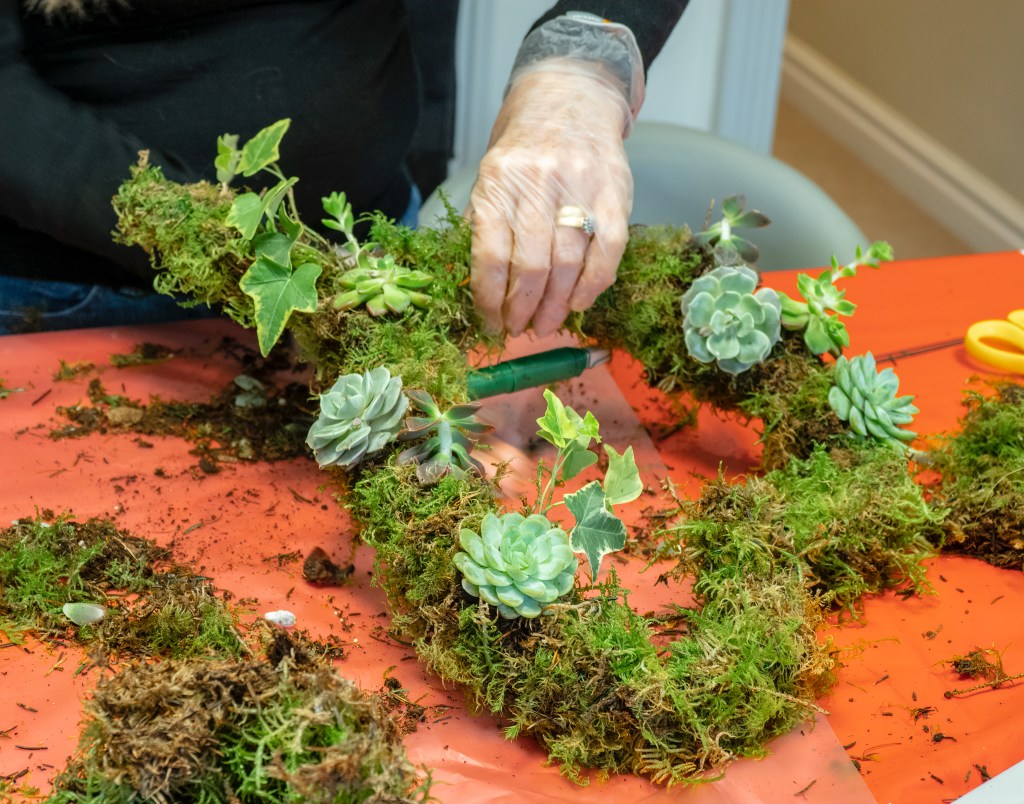
The technique is to wrap your wire heart with moss incorporating small plants as you progress. Each plant and it’s moss wrapping must be firmly secured by wrapping florists reel wire around each section. I used small succulent and ivy plants.
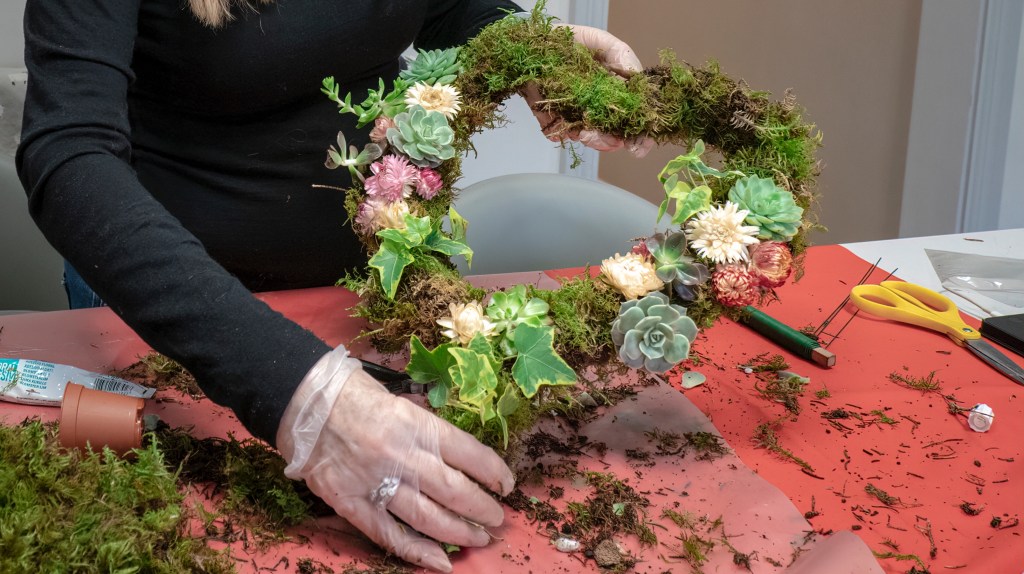
Add some colour to the wreath by attaching dried flower heads with florists glue. I used helichrysum flowers.
Finish the wreath by wiring in some pieces of pussy willow to emphasise the shape of the heart and adding a ribbon hanging loop. The wreath can either be hung outside (in which case there is no real need to water it). It can also be hung inside and should then be watered once a week by leaving in a shallow tray of water for a few minutes then draining.
The wreath should last for many months and can have plants added or replaced at any time. I really would recommend trying kokedama to create beautiful creations for your home or garden. Many thanks to Alison Cooper of The Flower Studio – Manchester who was an amazing tutor. Also to the Cheshire Area of NAFAS who have kept everyone in local flower clubs sane during lockdown with fantastic programme of talks, workshops and demonstrations.
The periods of lockdown we have all had to deal with over the past year have made us all think of new hobbies we could take up to help pass the time at home. Soap making for me started as a necessity when arriving back from Cuba in March last year the day before the first lockdown. The first couple of trips to supermarkets were “Mother Hubbard” experiences of empty shelves, not only food but the nation seemed to think that soap and cleaning materials would never be available again!
So…out of the cupboard came a soap kit I had been given as a gift some time ago but never got around to doing anything with it….you know how it is. Well this kit was the real deal, soap making from scratch using raw materials shea butter, sunflower oil, coconut oil and sodium hydroxide (often known as lye). This last material is the one to watch, it is extremely corrosive so protect yourself with gloves and apron and watch your kitchen surfaces. I did all the mixing in a deep enamel sink.
The fats, shea butter and the two oils are melted carefully in the microwave and, if you have a thermometer, the temperature should be about 50-60 degC. Otherwise heat until melted but not smoking or boiling. Make a solution of sodium hydroxide by adding the powder to the amount of water specified in your kit. Safety glasses are a good idea at this point. The sodium hydroxide heats up as it dissolves so be careful. Now the exciting part…..slowly add the sodium hydroxide solution into the heated oils stirring continuously until the mixture becomes thick like custard. Mine thickened really quickly but it can take up to 30mins.
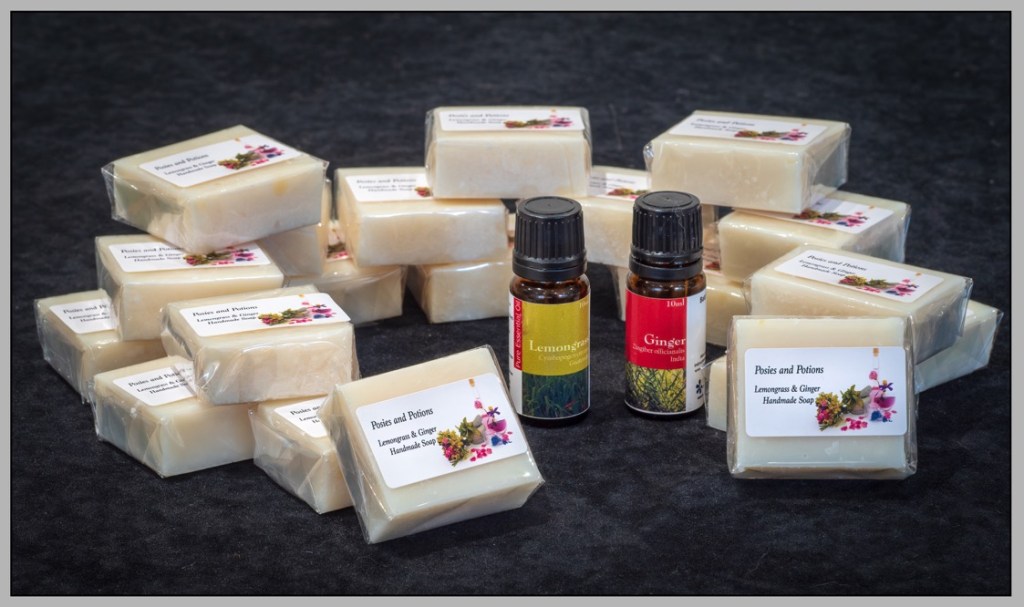
The next stage is called the Trace. Your soap reaches Trace when drizzling the mixture from your spoon leaves a distinct outline in the mixture. The initial reaction is now complete and it’s time to add fragrance. I decided to make a unisex fragrance by using Lemongrass and Ginger essential oils. it depends how much perfume you want, keep adding until the aroma is right for you. I added approx 2mls Lemongrass oil and approx 0.5ml Ginger oil because I wanted the lemongrass to be the dominant fragrance with just a hint of spice.
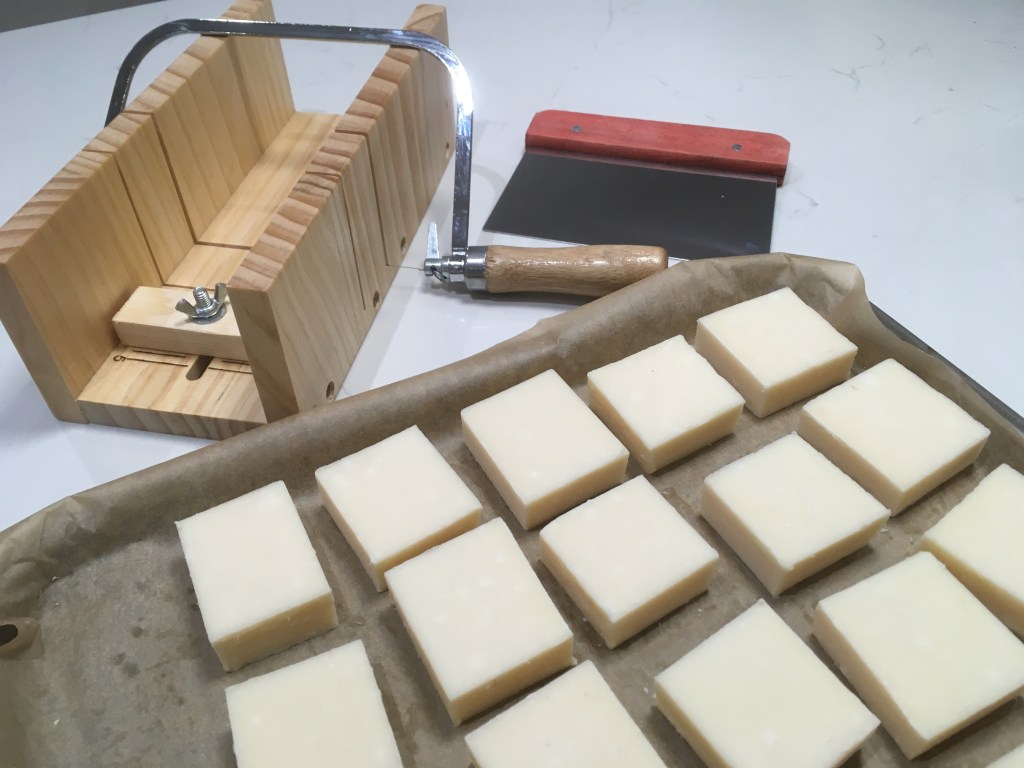
The soap is now ready to pour. I used one bulk rectangular plastic mould as supplied with my kit. The soap is left to set overnight then carefully turned out of the mould. If it doesn’t come out easily stand the base of the mould in a container of hot water for just a few seconds, no longer as your soap will start to re-melt. I left my block of soap overnight again to dry out then I cut it with a soap wire I had bought on-line, this gives a really neat finish to your bars of soap.
The bars of soap must now be left to cure in a dry airy atmosphere to cure for 2-3 weeks. I put mine on a baking tray lined with baking parchment. During this time excess water evaporates from the soap. Use gloves to handle it at this stage as it may still be caustic.
Make someone’s day! Hand-made soaps make lovely little gifts for family and friends. I wrapped mine in clear cellophane and my other-half, who is a whizz at all things IT printed cute little labels for me.